You’ve set up Apple Pay and now you’re stuck on the verification step, right? Don’t fret, we’ve got you covered. This guide will walk you through the process of verifying your identity on Apple Pay.
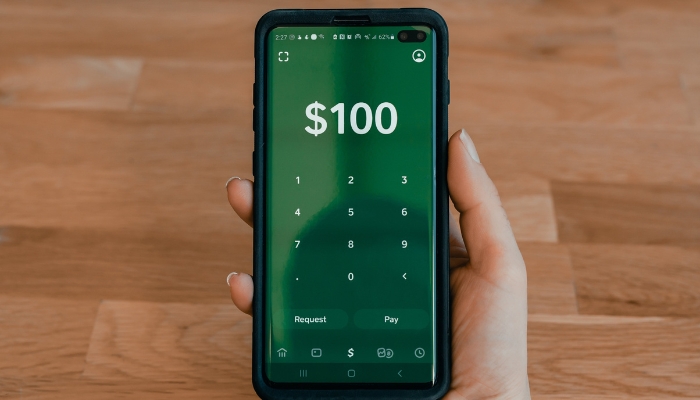
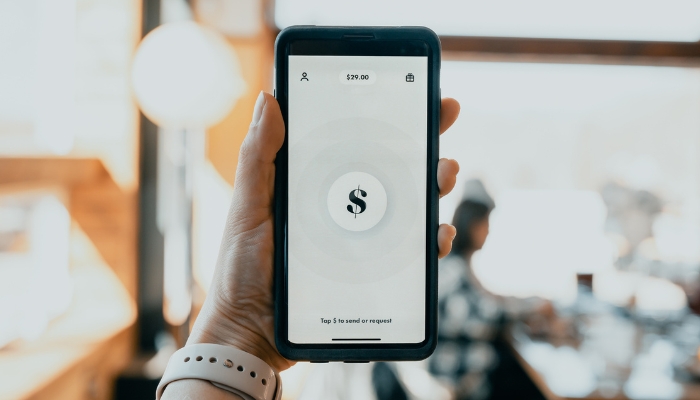
To verify your identity on Apple Pay, open the Wallet app, select your Apple Pay Cash card, and follow the prompts. You’ll need to enter personal details and possibly scan an ID. This ensures your transactions are secure.
Plus, we’ll help you troubleshoot common issues and maintain your account’s security post-verification. Get ready to enjoy the convenience of Apple Pay with peace of mind.
Table of contents
Understanding Apple Pay Verification
Often, you’ll need to verify your identity on Apple Pay to ensure your transactions are secure and your financial information is protected. This is a crucial step in the verification process. Apple’s identity verification service prides itself on maintaining the highest standards of security, ensuring that your Apple Wallet is only accessible by you.
Apple Pay’s identity check involves confirming your personal information and linking your bank account or credit card. You’ll be prompted to enter your full name, date of birth, and the last four digits of your social security number. This information is used to validate your identity, preventing any possible fraudulent activities.
For some, the verification process might include an additional step. You might be asked to provide a document, like a driver’s license or passport. This is to further secure your account, leaving no room for errors or fraud.
Setting up Apple Pay Account
After understanding the verification process for Apple Pay, which shares similarities with processes on other apps like ‘verify identity on Cash App‘, it’s time for you to set up your Apple Pay account, starting with adding your preferred payment method. To do this, open the Wallet app on your Apple device and tap the plus sign to add a card. Following the prompts, enter your card details.
Next, the identity verification process begins. Apple will automatically contact your bank to verify your information. If this process isn’t instantaneous, don’t worry. It’s normal for there to be a delay, and Apple support is available if you encounter any issues.
During this verification process, you may be asked for additional information to verify your identity. This is a standard procedure to ensure the security of your transactions.
Once your identity is confirmed, you’re all set up. Your card appears in your Wallet app, ready for use. Remember, you can add multiple cards and choose a default card for transactions.
Setting up your Apple Pay account is straightforward. By following these steps and successfully completing the identity verification process, you’re well on your way to enjoying a seamless, secure payment experience. Remember, Apple support is always there to assist you if needed.
Steps to Verify Your Identity
To ensure your Apple Pay’s security, it’s crucial you follow the necessary steps to verify your identity. Here’s how to do it:
First, on your iPhone, go to the Wallet app and tap on the Apple Pay Cash card. Then, tap on the ‘i’ icon and select ‘Verify Identity’. You’ll be prompted to provide personal information like your full name, address, and the last four digits of your Social Security Number. Be sure to enter accurate information as it appears on your official documents to avoid any discrepancies.
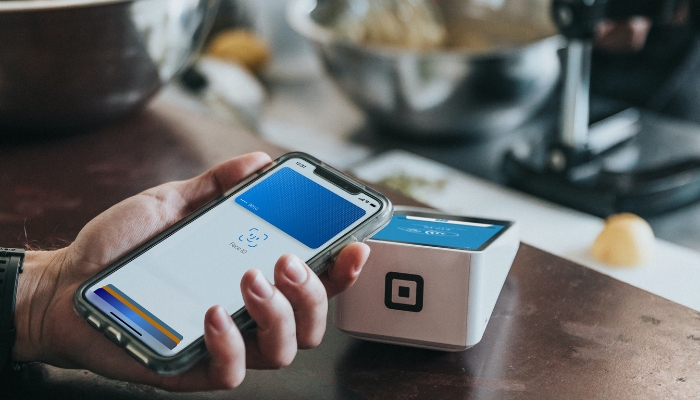
Next, Apple Pay might ask for additional information or documents to verify your identity. This could include a photo of your driver’s license or ID. Simply follow the on-screen instructions and capture clear images for verification.
Finally, check your email for a verification code from Apple Pay. This security code ensures that it’s really you who’s trying to access your digital wallet. Enter the code in the required field, and voila! Your identity is verified, and you can now enjoy secure transactions using Apple Pay.
Verifying Apple Pay on Different Devices
Using Apple Pay is convenient and secure, but first, you must verify your identity on each device you intend to use. Whether it’s an iPad, a Mac with or without Touch ID, or any other eligible device, the process is straightforward. Let’s dive into the simple steps for each.
Steps for Verification on iPad
- Open Wallet & Apple Pay Settings: Start by opening the Settings app on your iPad. Look for the “Wallet & Apple Pay” option.
- Add Your Card: Tap on ‘Add Card’ to begin adding your debit card, credit or debit card, or prepaid card.
- Enter Card Info: Fill in your card details, including the card number, billing address, and zip code. If you’ve used this card before, it might appear in the card displays under ‘Previous Cards.’
- Verify with Card Issuer: Once the card info is entered, your card issuer may require additional customer identity verification. This could be through an identity reader, one-time verification code, or other identity verification service provider methods.
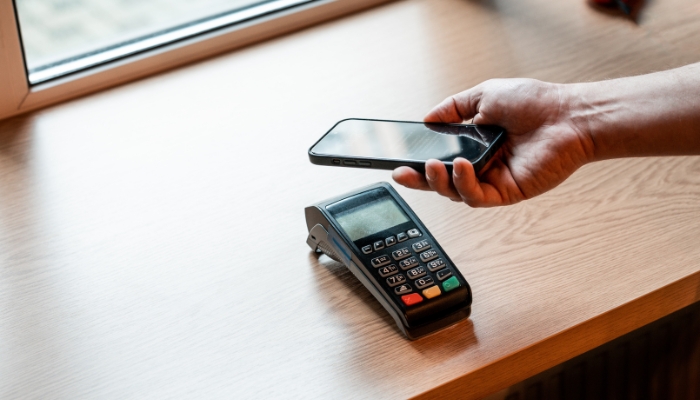
- Completion: After successful verification, your card will be ready for Apple Pay use on your iPad, allowing for purchases in stores and online purchases.
Verification Process on Mac (with and without Touch ID)
- Access Wallet & Apple Pay: On a Mac with Touch ID, go to System Preferences and select ‘Wallet & Apple Pay.’ For Macs without Touch ID, this option is also available but will require your iPhone or Apple Watch for payment authorization.
- Adding a Card: Click ‘Add Card’ and enter your card info. If this is a duplicate card already used on another Apple device, it might show up automatically.
- Verification: Verification might involve providing additional contact details like your email address or residential address. This step is crucial to prevent unauthorized access and ensure financial regulations compliance.
- Confirmation: Once verified, the card will be set for Apple Pay use on your Mac, enabling you to make secure contactless purchases.
How Verification Differs Across Devices
- Device-Specific Steps: The initial initial wallet setup process differs slightly. For instance, iPads require navigating through Settings, whereas Macs use System Preferences.
- Verification Methods: Verification might involve different steps based on the device. For instance, Macs with Touch ID use the device’s face-recognition device capabilities, while others might need an Apple Watch or iPhone to complete the process.
- Security Features: Each device has unique security features, like Touch ID on certain Macs, which influence how you authenticate during the setup.
- User Experience: The interface and user experience while adding and verifying cards can vary. iPads often provide a more touch-centric experience, whereas Macs are more keyboard and mouse-driven.
In conclusion, verifying Apple Pay across different devices involves specific steps tailored to each device’s capabilities and security features. By following these simple steps and understanding the nuances of each device, users can enjoy the seamless and secure convenience of Apple Pay, whether for grocery stores shopping, app purchases, or online transactions.
Troubleshooting Verification Issues
Despite following the verification steps, you might encounter some issues while trying to verify your identity on Apple Pay. This situation, often termed as troubleshooting verification issues, can be due to various factors, including network problems, incorrect details, or technical glitches.
If you experience a verification error, don’t panic. Firstly, ensure that all the information you’ve entered is correct. This includes your name, address, and other personal data. Secondly, check your internet connection. A stable internet connection is paramount for successful identity verification.
If the problem persists, try restarting your device. This simple trick can often resolve minor technical issues. Also, consider updating your device to the latest operating system. Apple Pay requires an up-to-date OS for optimal functioning.
If all else fails, it’s time to contact the customer support team. Apple’s customer service is known for its efficiency and will guide you through the process. When interacting with them, make sure to provide all necessary details to help them understand your issue better.
Maintaining Account Security Post-Verification
Once you’ve ironed out any verification issues and successfully verified your identity on Apple Pay, it’s crucial to keep up with maintaining your account security. Post-verification, consistent vigilance is key in ensuring that your account remains secure and uncompromised.
Firstly, always keep your Apple Pay app updated. This ensures you’re benefiting from the latest security patches and enhancements.
Secondly, never share your Apple Pay login details with anyone. Your login credentials are personal and should remain confidential.
If you suspect any suspicious activity on your account, promptly report it to Apple customer support. They’re equipped to help you address such issues and can guide you through the steps to secure your account. It’s also essential to periodically verify your identity on Apple Pay. This ensures that your account’s security measures are up-to-date.
Moreover, have a strong, unique password for your Apple Pay account. Regularly changing your password is also a good practice. It’s advisable to use a different password for Apple Pay than for other accounts. This way, if one of your accounts is compromised, your Apple Pay account security remains intact.
Conclusion
In sum, verifying your identity on Apple Pay is a straightforward process that secures your account, much like how to verify identity on airbnb. After setting up your Apple Pay account, follow the necessary steps to verify your identity. If problems arise, don’t hesitate to troubleshoot.
Once verified, it’s crucial to maintain your account security. This guide has hopefully made the process clearer and easier for you. Remember, a secure Apple Pay account is a step towards safer online transactions.
FAQs on Verifying Identity for Apple Pay
1. Why is personal data required for verification?
For identity verification service provider protocols and to comply with financial regulations, providing personal data is essential. When you set up Apple Pay, your card issuer and identity service provider need to ensure that you are the legitimate card holder and prevent unauthorized access to your account.
This process involves checking your identification card, state-issued ID, or other forms of government identification against public records to confirm your personal history and identity for security purposes.
2. Where is my personal information sent?
Your personal information is securely transmitted to relevant parties, like your bank card issuer or the Green Dot Bank for Apple Cash users. It may also be sent to an identity verification service provider for further validation.
These entities store and manage your data securely, ensuring it is not misused or exposed to third parties not involved in the verification process. For instance, your billing address and contact info are shared with these entities but safeguarded under strict privacy policies.
3. What if I don’t have the necessary information for verification?
If you’re unable to provide the required information, like a physical driver license or a CO-RCSA SB251 ID card, you might face limitations using Apple Pay. For instance, you may not be able to add new cards or access certain features like sending money via Apple Cash.
If you encounter an error message or need additional assistance, it’s best to contact the issuer for assistance or Apple’s team for assistance for alternative contact methods or to understand the conditions for contact information. They might offer other ways to verify your identity or use the service within certain limits.